Before & After: 3 Bathroom Renos in West Vancouver
This client in West Vancouver wanted to give all three bathrooms in their home a makeover. These are what you would call lipstick renos, as no structural changes were made, only cosmetic changes. Check out the amazing Before and After photos below!
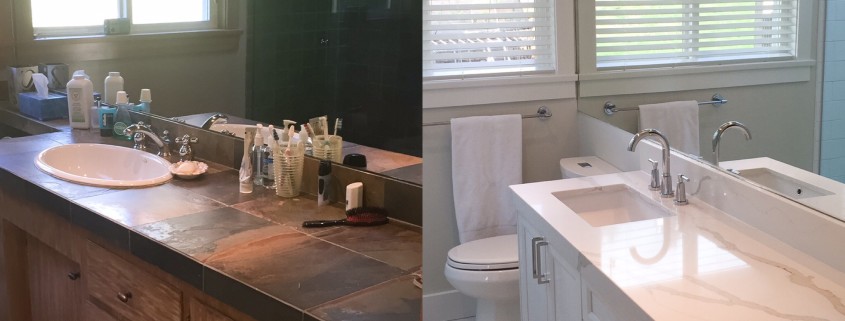
Bathroom Reno #1
Before
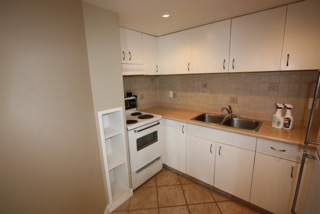
As you can see, this bathroom was looking a little bit tired. The dark colours didn’t do much for it.

After
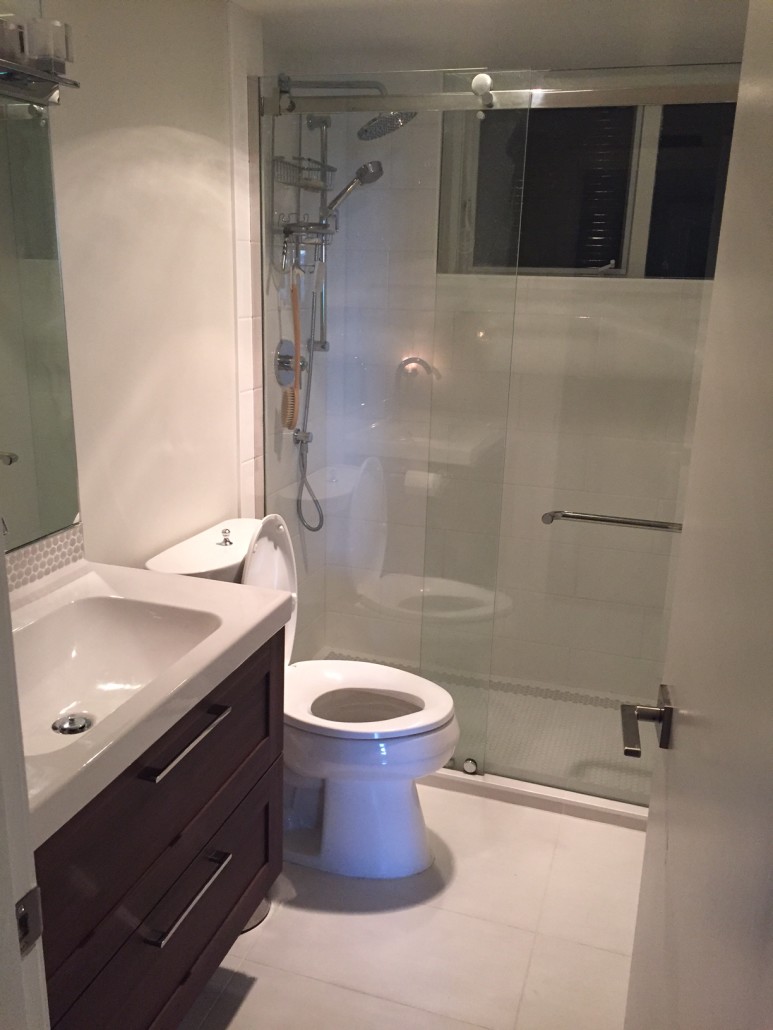
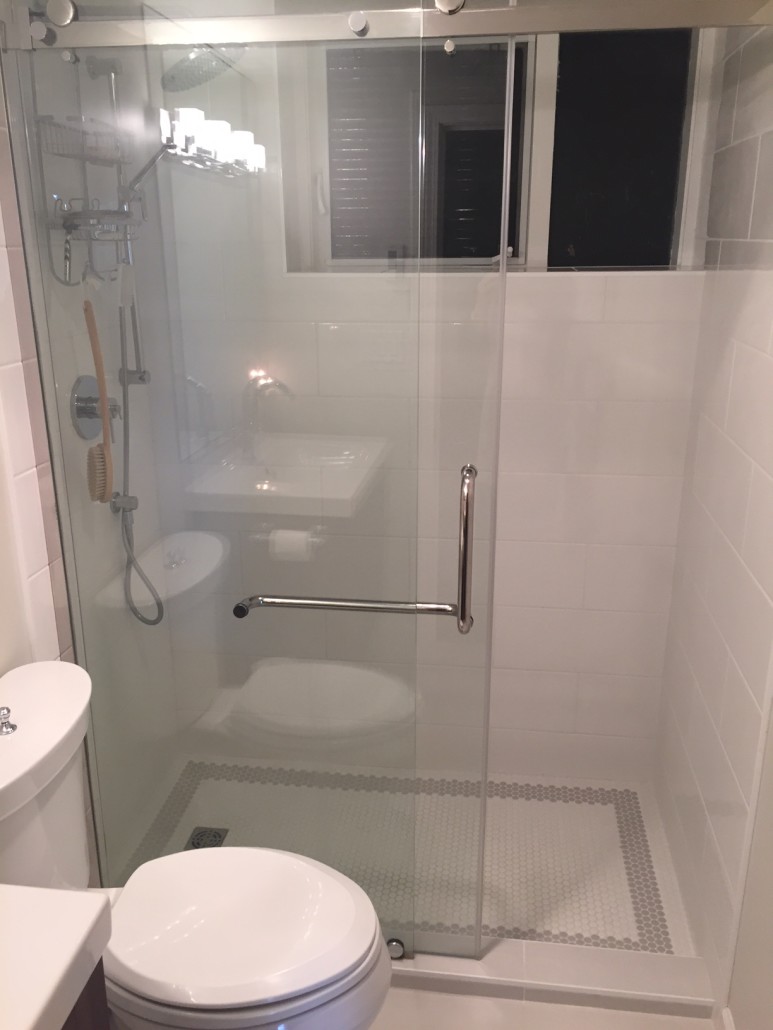
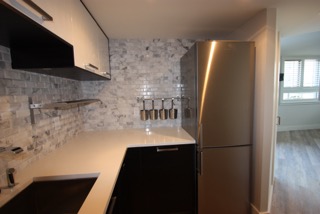
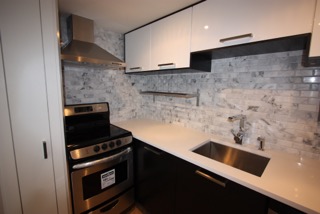
They chose a custom vanity, floor tile by Tierra sol, Caesarston counters, and Riobel fixtures. Doesn’t the white make such a difference? It’ so bright, especially with all that natural light!

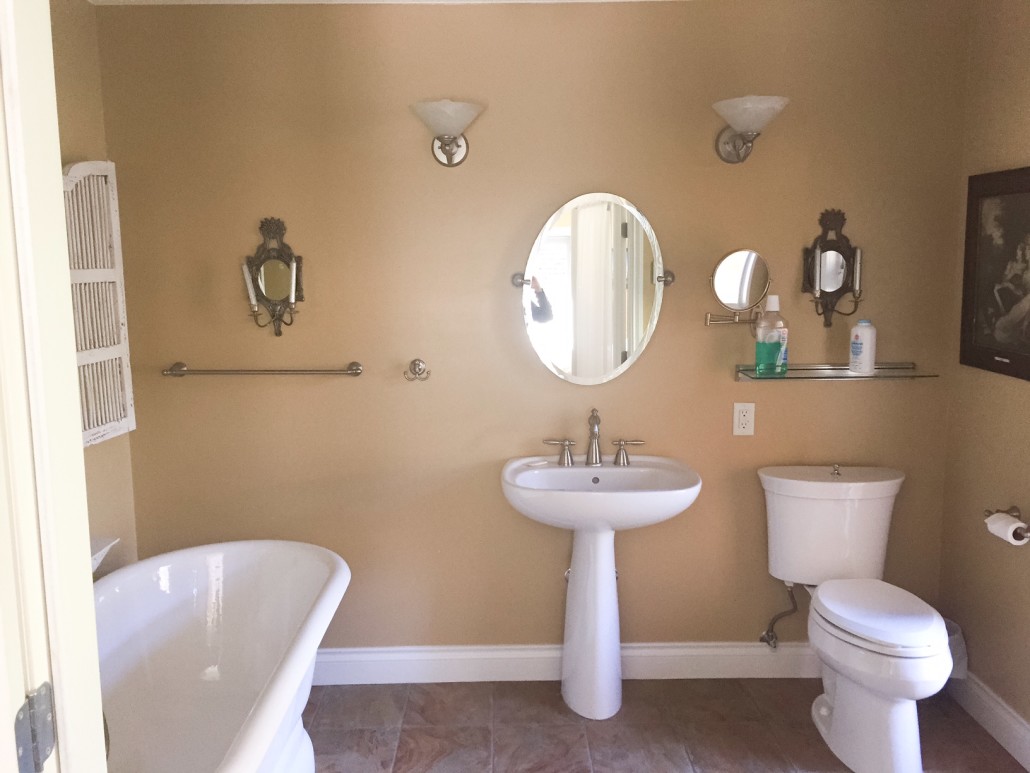
Bathroom Reno #2
Before
The floor, the mirror, the light fixtures, and even the colours were all a bit outdated.
After
Beautiful, bright, and modern!
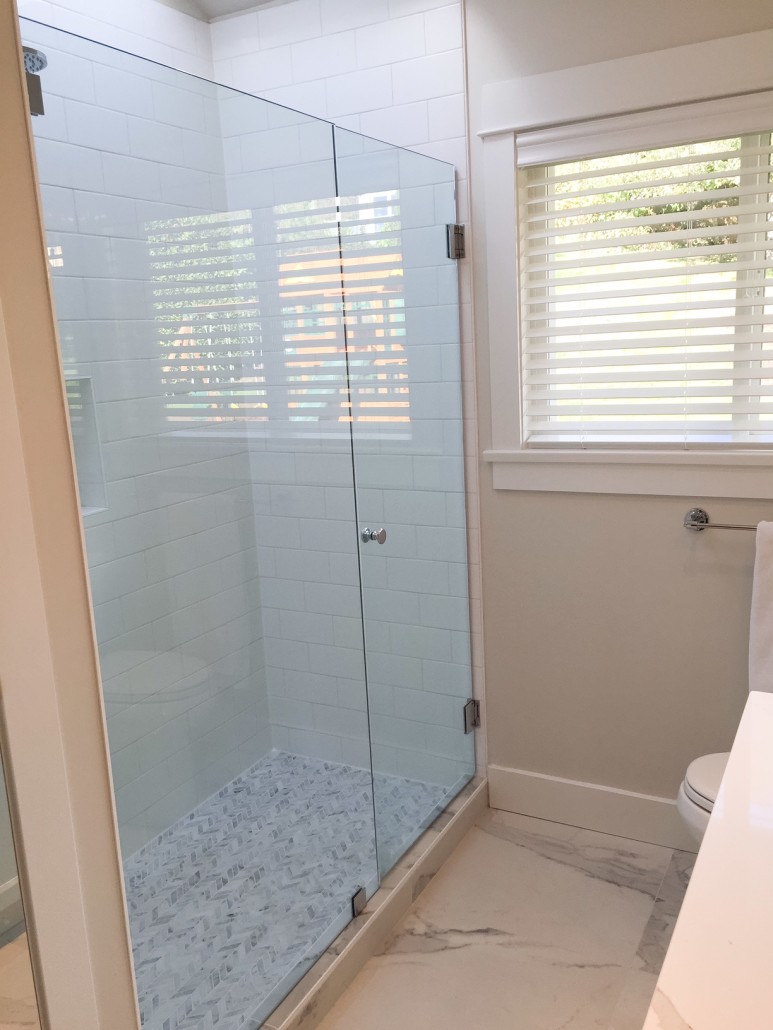
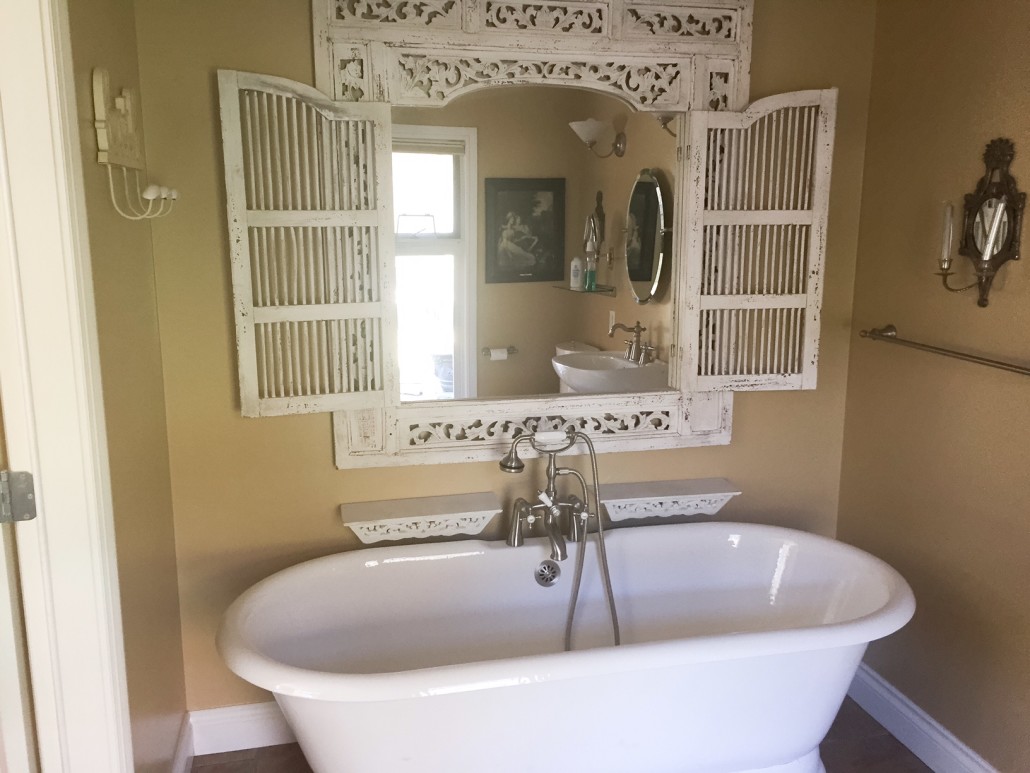
Before
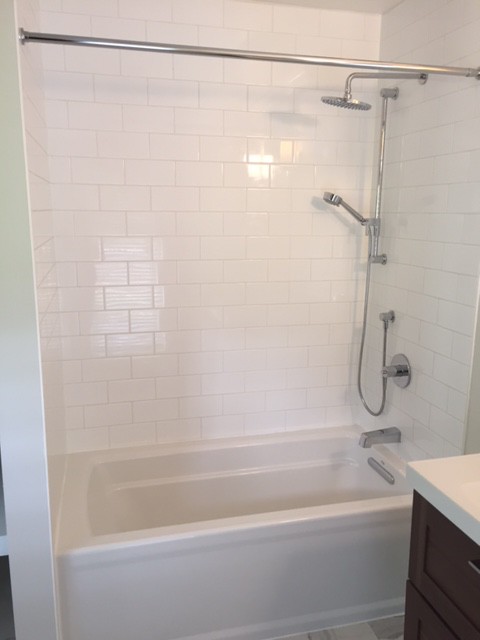
After
The clawfoot tub was removed, and a new tub and shower were added!
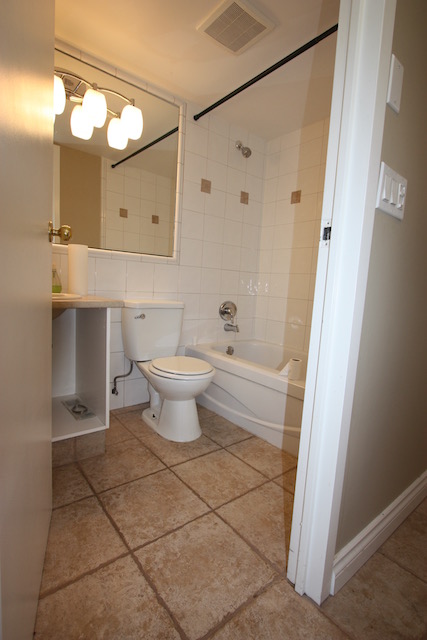
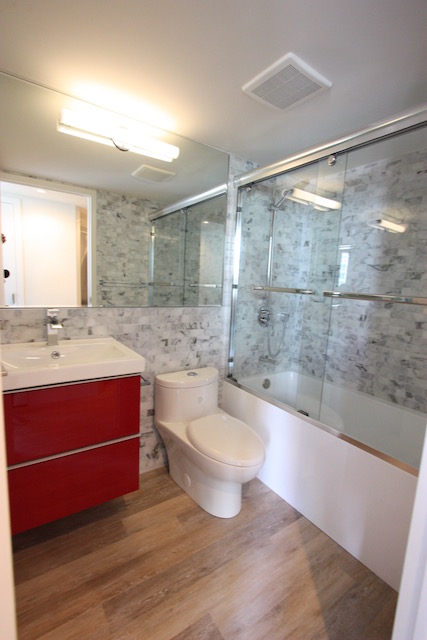
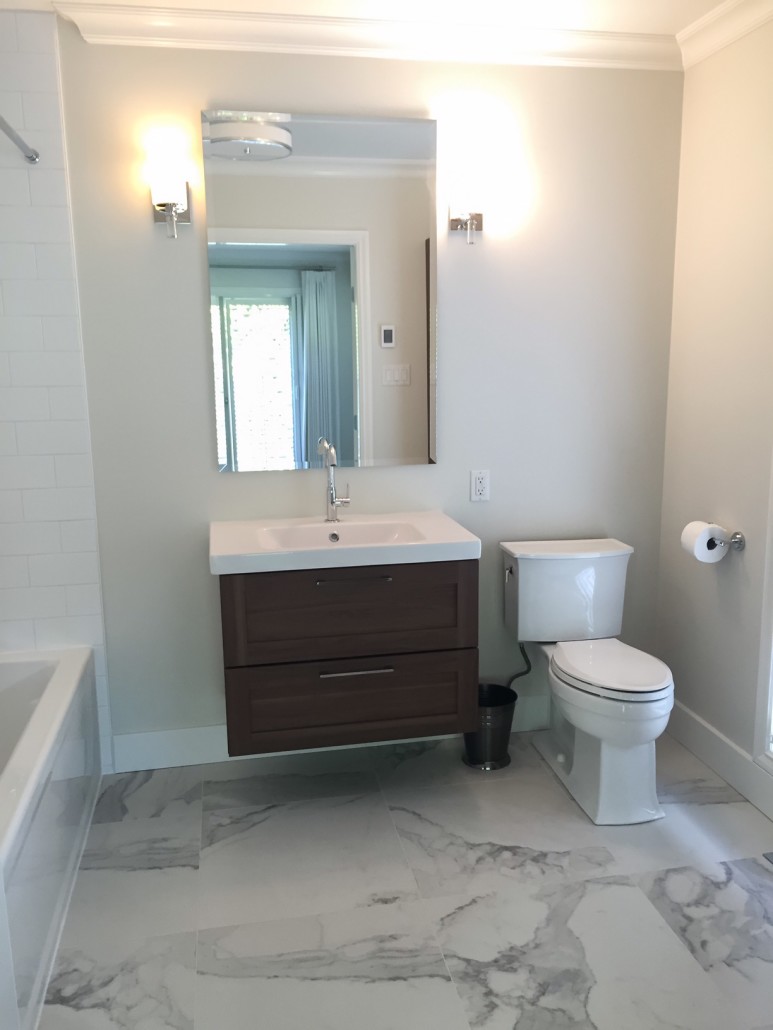
Bathroom #3
Before
The 80’s called… they want their bathroom back.

After
This bathroom renovation was completed with Ames Tile & Stone, the vanity was purchased from Ikea, and the mirror is custom.